CARF Ultra Flash Evo build thread +


 01-15-2021, 09:40 AM
#102

Thanks guys. I can't wait to see it in the air at dusk or dawn. I e-mailed Ulrich and he recommended all of the lights I used specifically for the UF. Here's the list by P/N.
MODUL-B4 x1
DUAL6-120x2-RTWE x1
DUAL6-120x2-GNWE x1
SPOT16X-080x2-WE x1
PRO12X-150x2-RT x1
STRB10F-080x2-WE x1
MODUL-B4 x1
DUAL6-120x2-RTWE x1
DUAL6-120x2-GNWE x1
SPOT16X-080x2-WE x1
PRO12X-150x2-RT x1
STRB10F-080x2-WE x1
The following 2 users liked this post by ColinBell:
AEROSHELDON (01-15-2021),
flaz (08-16-2023)
01-15-2021, 09:49 AM
#103
Senior Member
So with the wingtip, Navi lights install did you just mark the spot and drill.
How many ribs did you cut through till the servo lead was near the aileron pocket?
I'm installing Navi light on my Viper and Mike the Carf rep couldn't supply me with a diagram of the wing layout so I can route the wires without damaging the wing
How many ribs did you cut through till the servo lead was near the aileron pocket?
I'm installing Navi light on my Viper and Mike the Carf rep couldn't supply me with a diagram of the wing layout so I can route the wires without damaging the wing
 01-15-2021, 09:56 AM
#105
I just drilled a 1/8 hole on each end of the intended slot, and then opened it up with a cut-off wheel in the dremmel. I finished it off carefully with a jewelers file. I didn't have to change the structure of the wing at all. The wires ran up the leading edge easily - the ribs already had sufficient sized lightning holes for everything to pass through and they came out at the wing tank access panel.

The following users liked this post:
paulhat (01-16-2021)
01-16-2021, 10:32 AM
#106
Senior Member
That's good to hear about ribs having holes for wires, just got my Eye Candy lights yesterday and now have to route the wires.
Thanks
Thanks
01-16-2021, 12:08 PM
#107

Thread Starter
So with the wingtip, Navi lights install did you just mark the spot and drill.
How many ribs did you cut through till the servo lead was near the aileron pocket?
I'm installing Navi light on my Viper and Mike the Carf rep couldn't supply me with a diagram of the wing layout so I can route the wires without damaging the wing
How many ribs did you cut through till the servo lead was near the aileron pocket?
I'm installing Navi light on my Viper and Mike the Carf rep couldn't supply me with a diagram of the wing layout so I can route the wires without damaging the wing
 01-17-2021, 09:08 AM
#108
Thread Starter
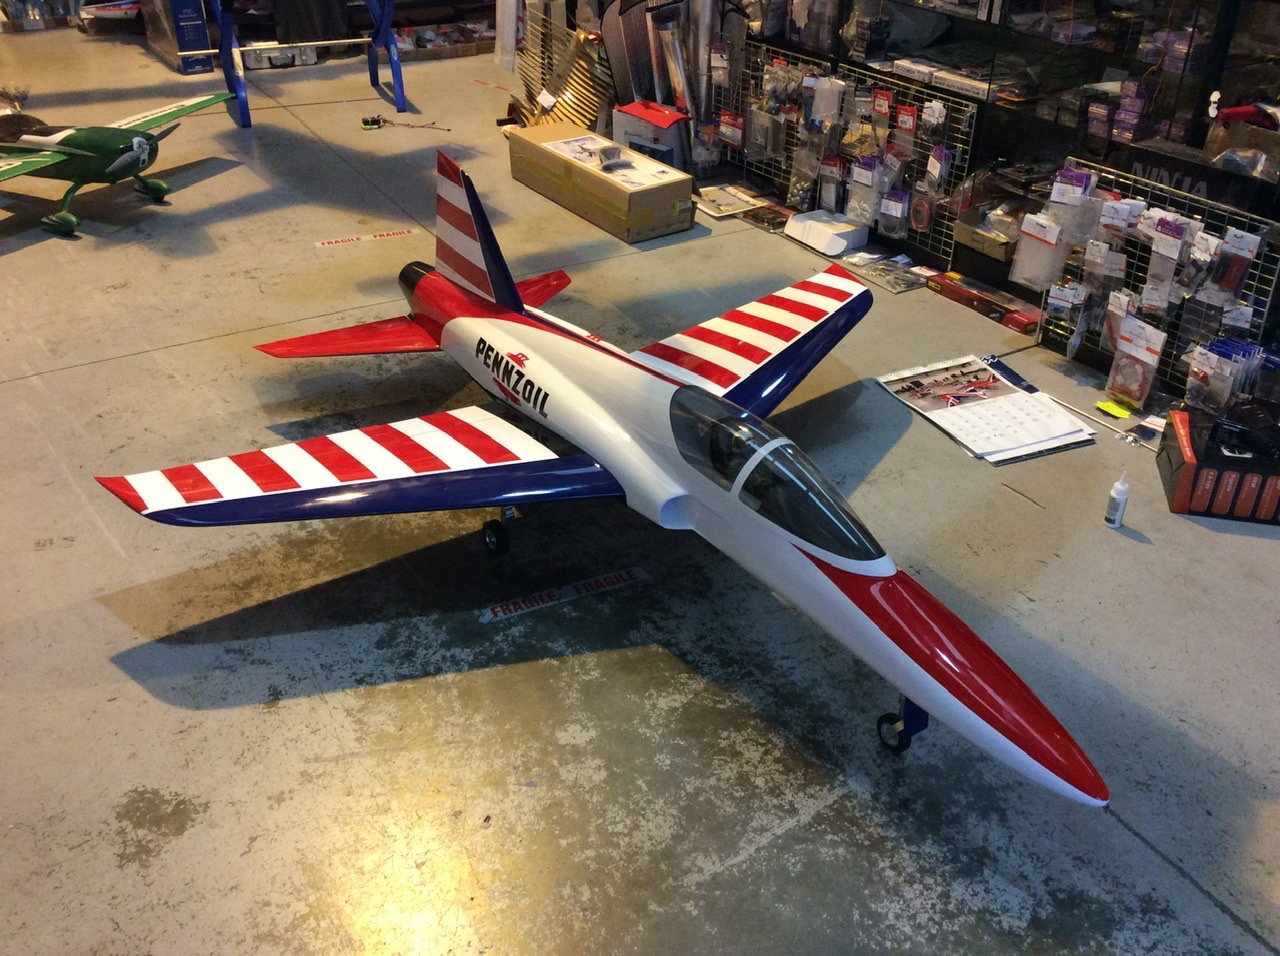
Been on the UF again today, it�s amazing how no interruptions speeds up a build!
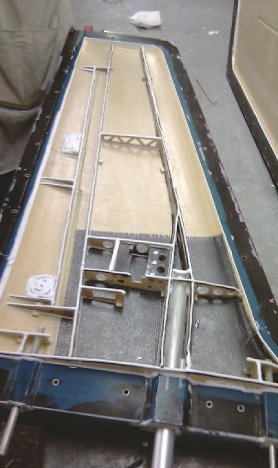
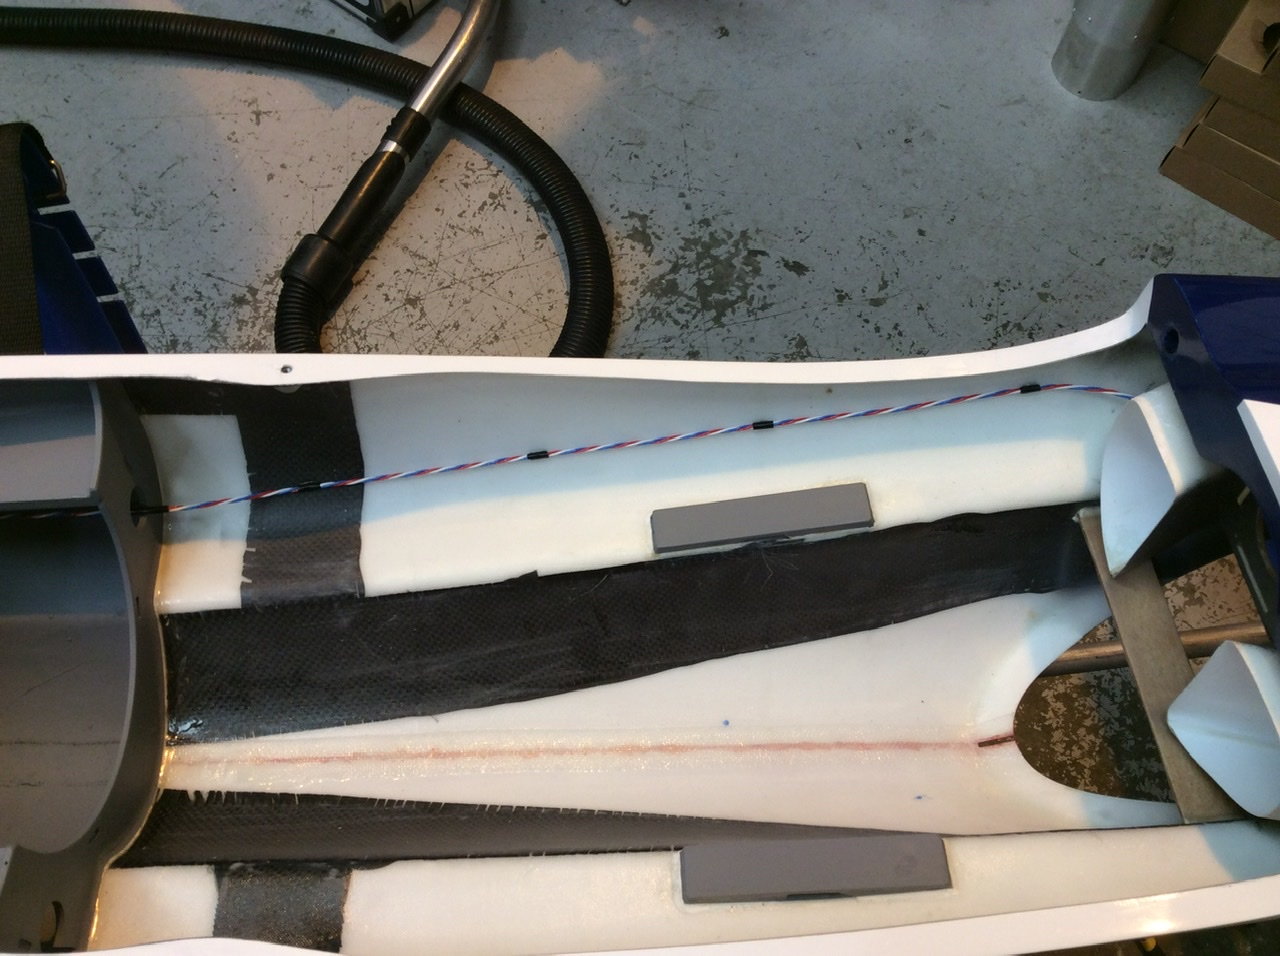
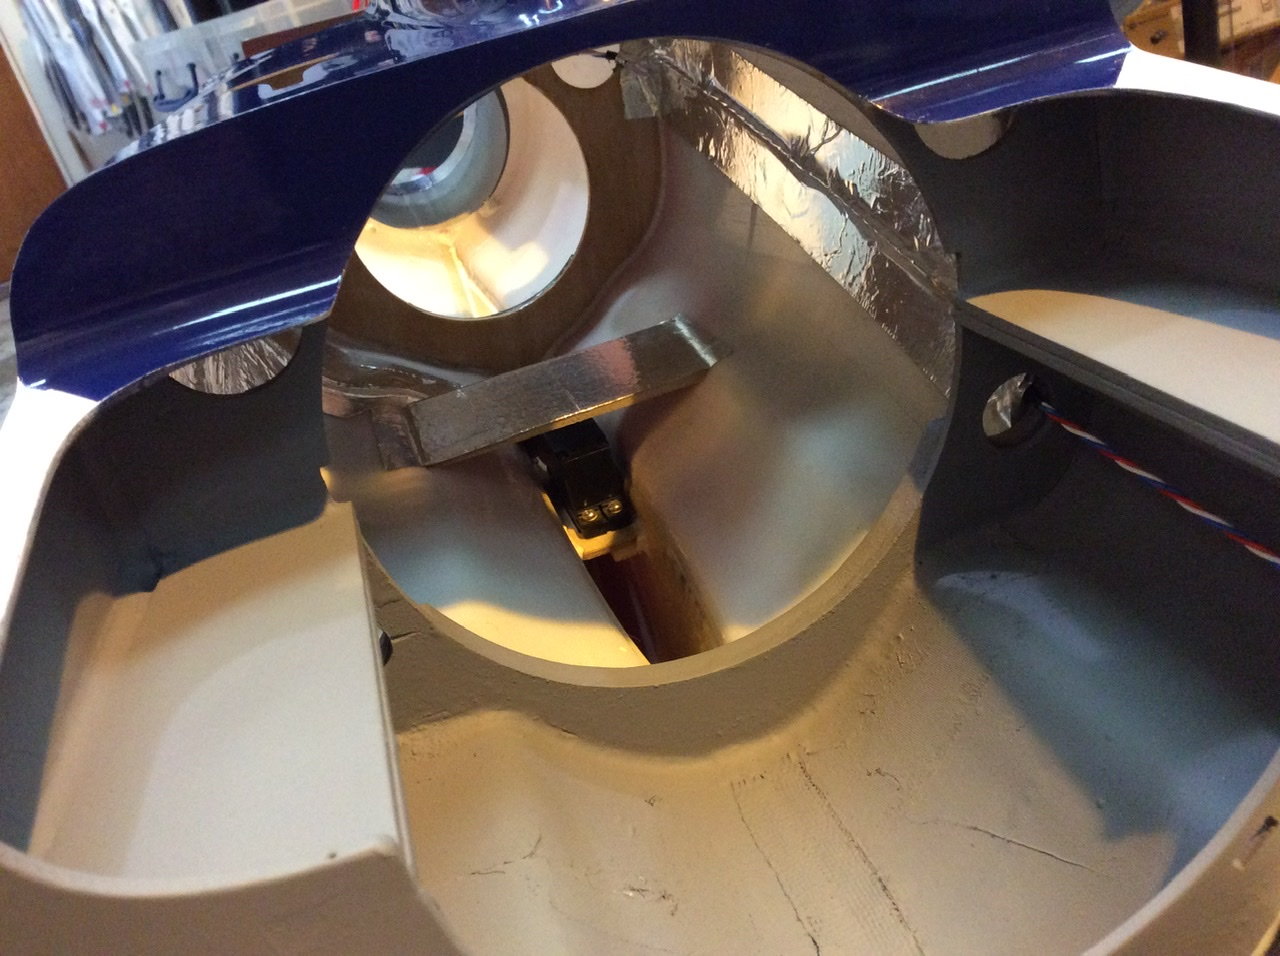
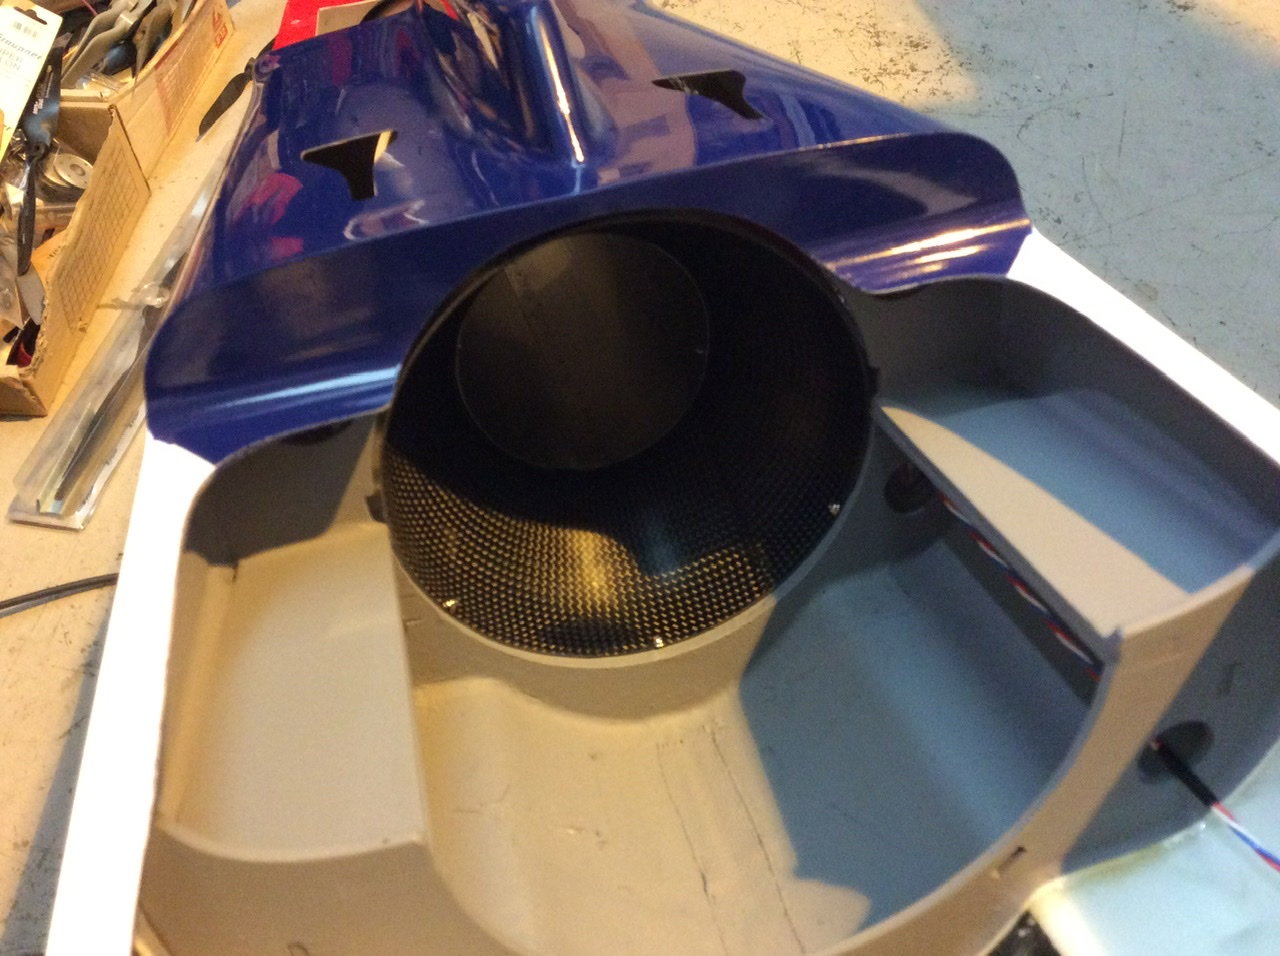
Ran the cables from the tail using PB premium wire, since the Evo install is new to me, I just made up extra long tails with just the male. The leads were tacked my usual method with insulation tape CA�d to the shell, then I ran foil tape over as a reflector.
Tail pipe went in for the last time, I had to space the cool-wall mounting tabs 4mm to get the outer pipe flush with the tailcone. I used three screws to hold the carbon inlet to the wood horse shoe, I had to go right on the edge to get the minimum gap at the rear (9-10mm) as per my normal set up.
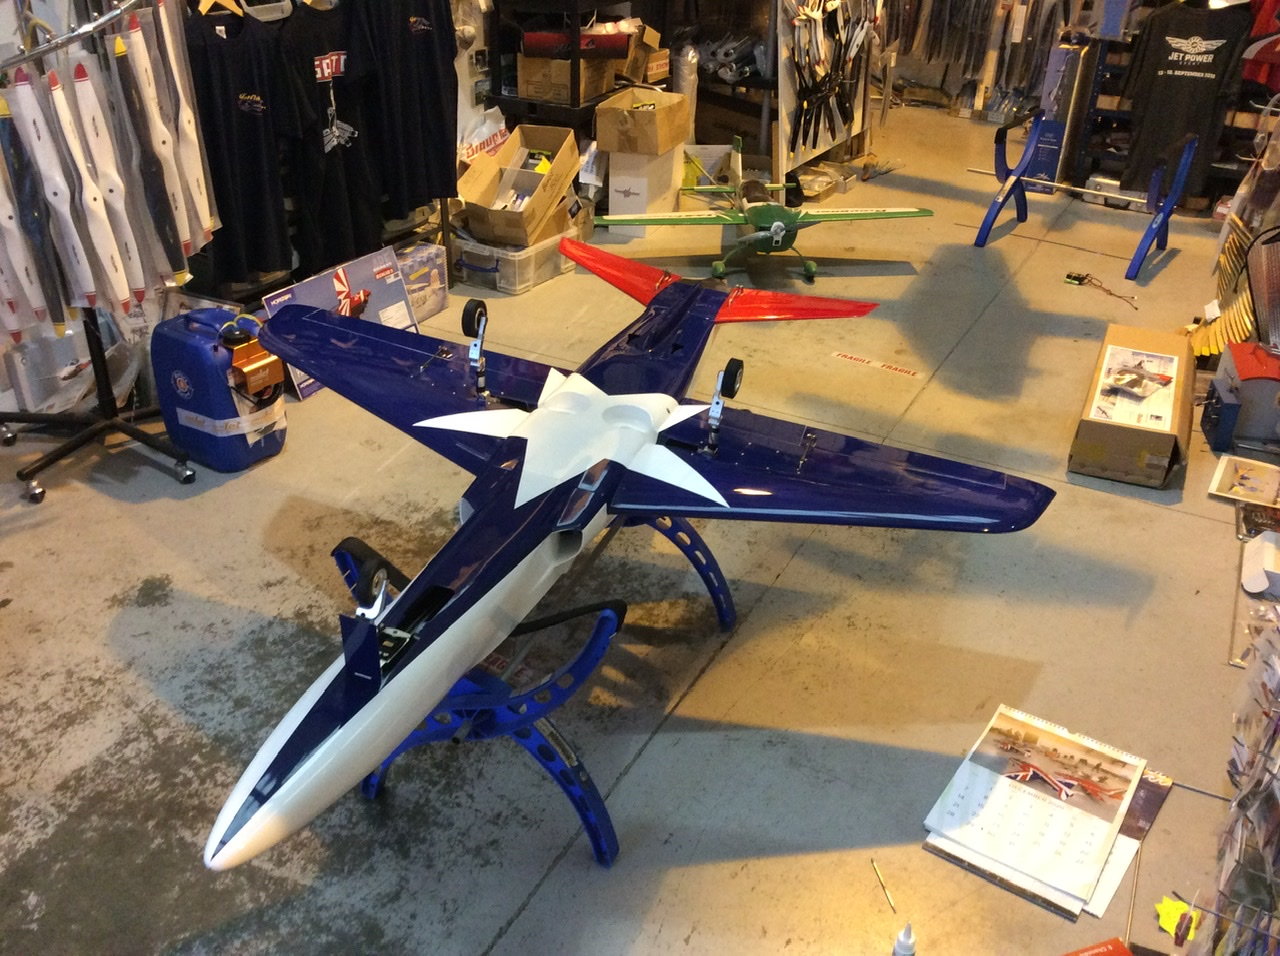
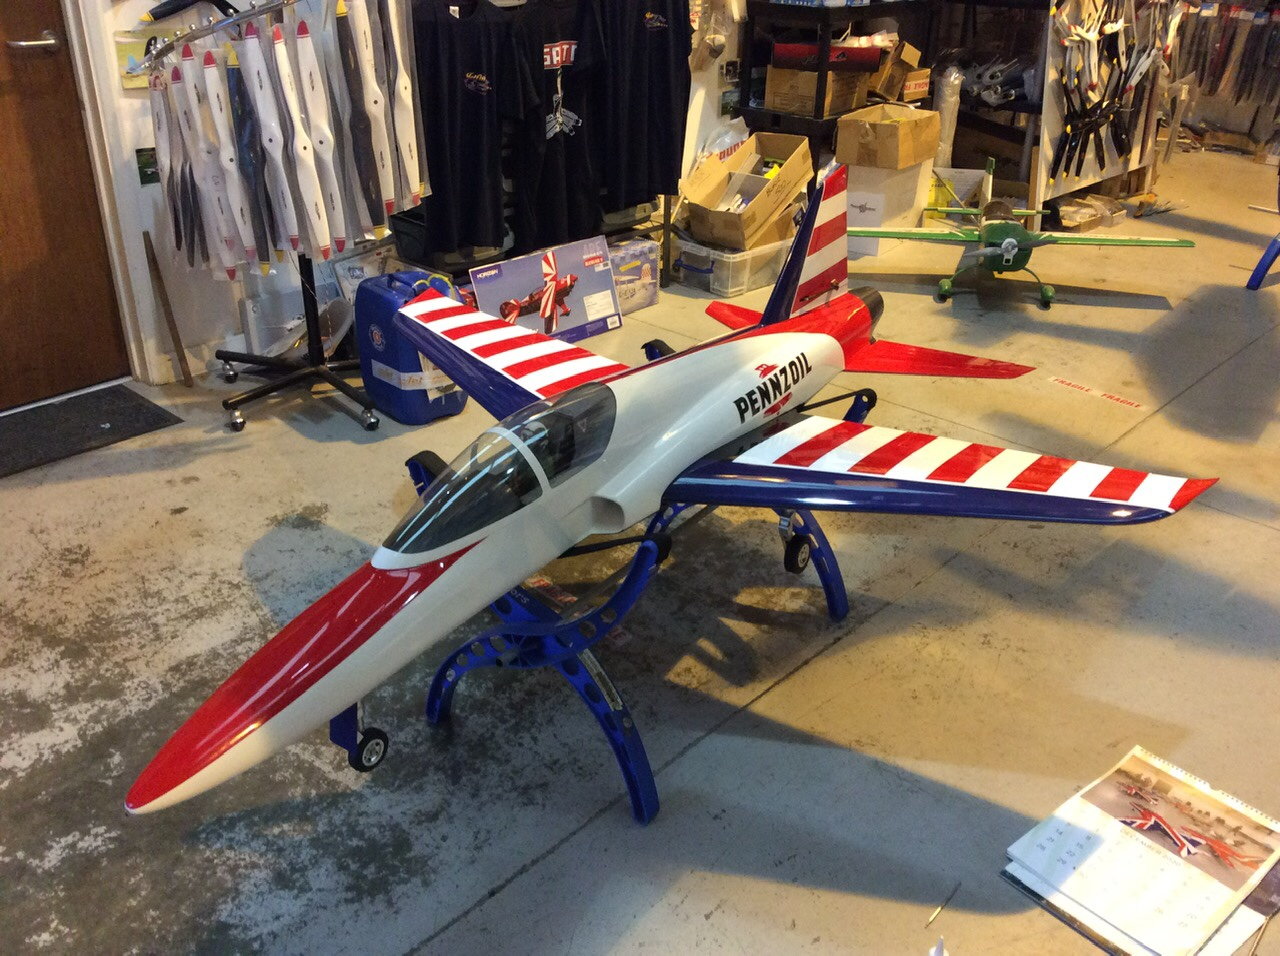
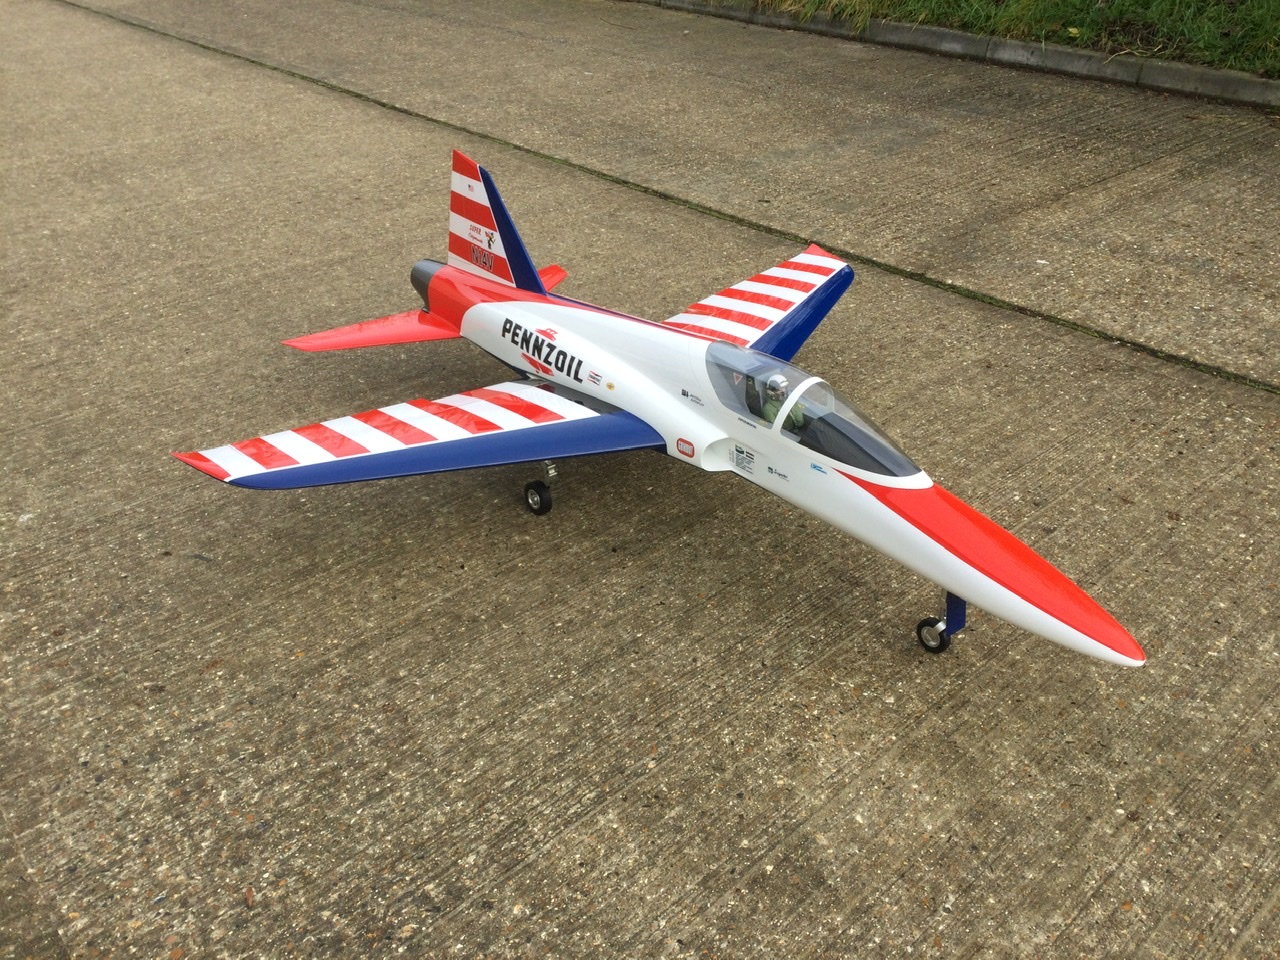
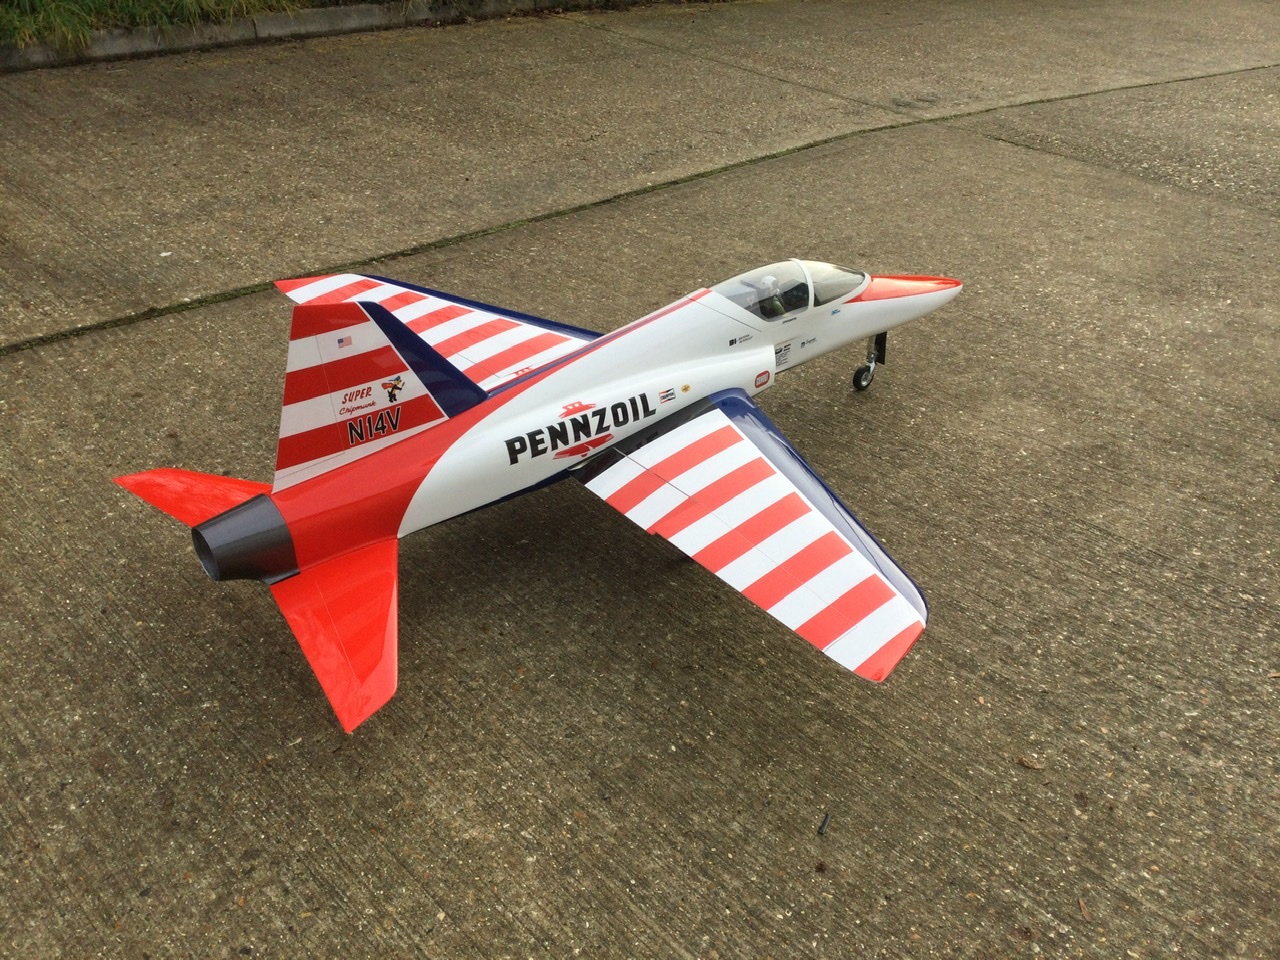
I decided to assemble the whole thing for the first time, there is a lot of installation still to do, but it gave me a chance to play with stickers. There are still a couple more to add. I�ll then put Powerbox and JetCat stickers where I can 🙂


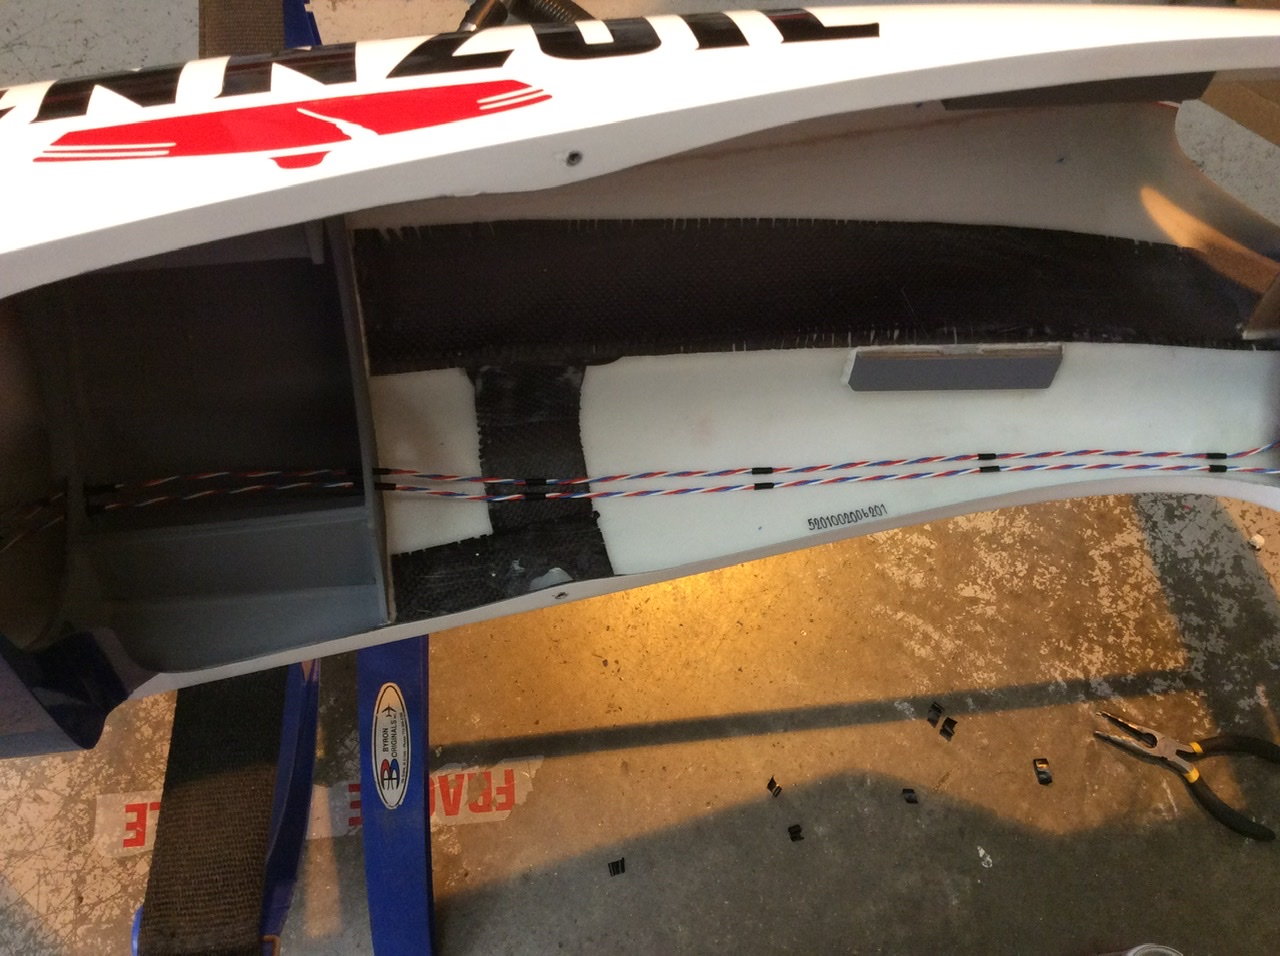
Ran the cables from the tail using PB premium wire, since the Evo install is new to me, I just made up extra long tails with just the male. The leads were tacked my usual method with insulation tape CA�d to the shell, then I ran foil tape over as a reflector.
Tail pipe went in for the last time, I had to space the cool-wall mounting tabs 4mm to get the outer pipe flush with the tailcone. I used three screws to hold the carbon inlet to the wood horse shoe, I had to go right on the edge to get the minimum gap at the rear (9-10mm) as per my normal set up.
I decided to assemble the whole thing for the first time, there is a lot of installation still to do, but it gave me a chance to play with stickers. There are still a couple more to add. I�ll then put Powerbox and JetCat stickers where I can 🙂
01-17-2021, 12:05 PM
#110
Thread Starter
Your calendar’s on the floor 😉 ? The hook wasn’t long enough for another year without thinning. I will probably frame some of the pictures 👍
D
D
The following users liked this post:
M.Jets (01-18-2021)
 01-18-2021, 02:39 PM
#116
Thread Starter
I ran a brand new scalpel around it twice, nipped it with pliers and pulled off the ring. Only reason was the soft alloy gets dinted and squashed handling the fuselage if you leave it overhanging
Colin. Yes, too plain without the decals, but my guess is manufacturer logos and wording would work too
Dave
01-20-2021, 11:02 AM
#117
Thread Starter
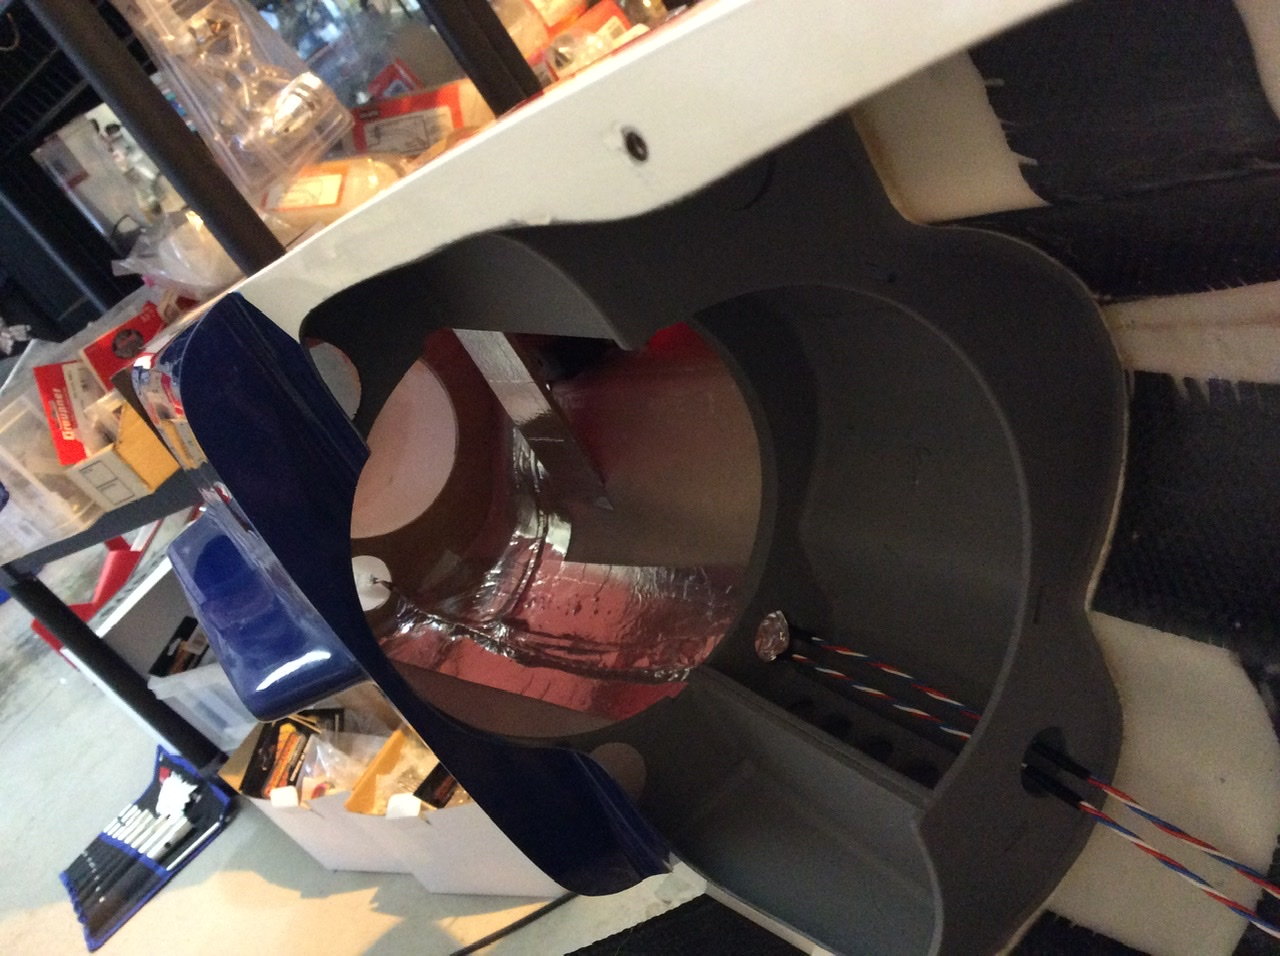
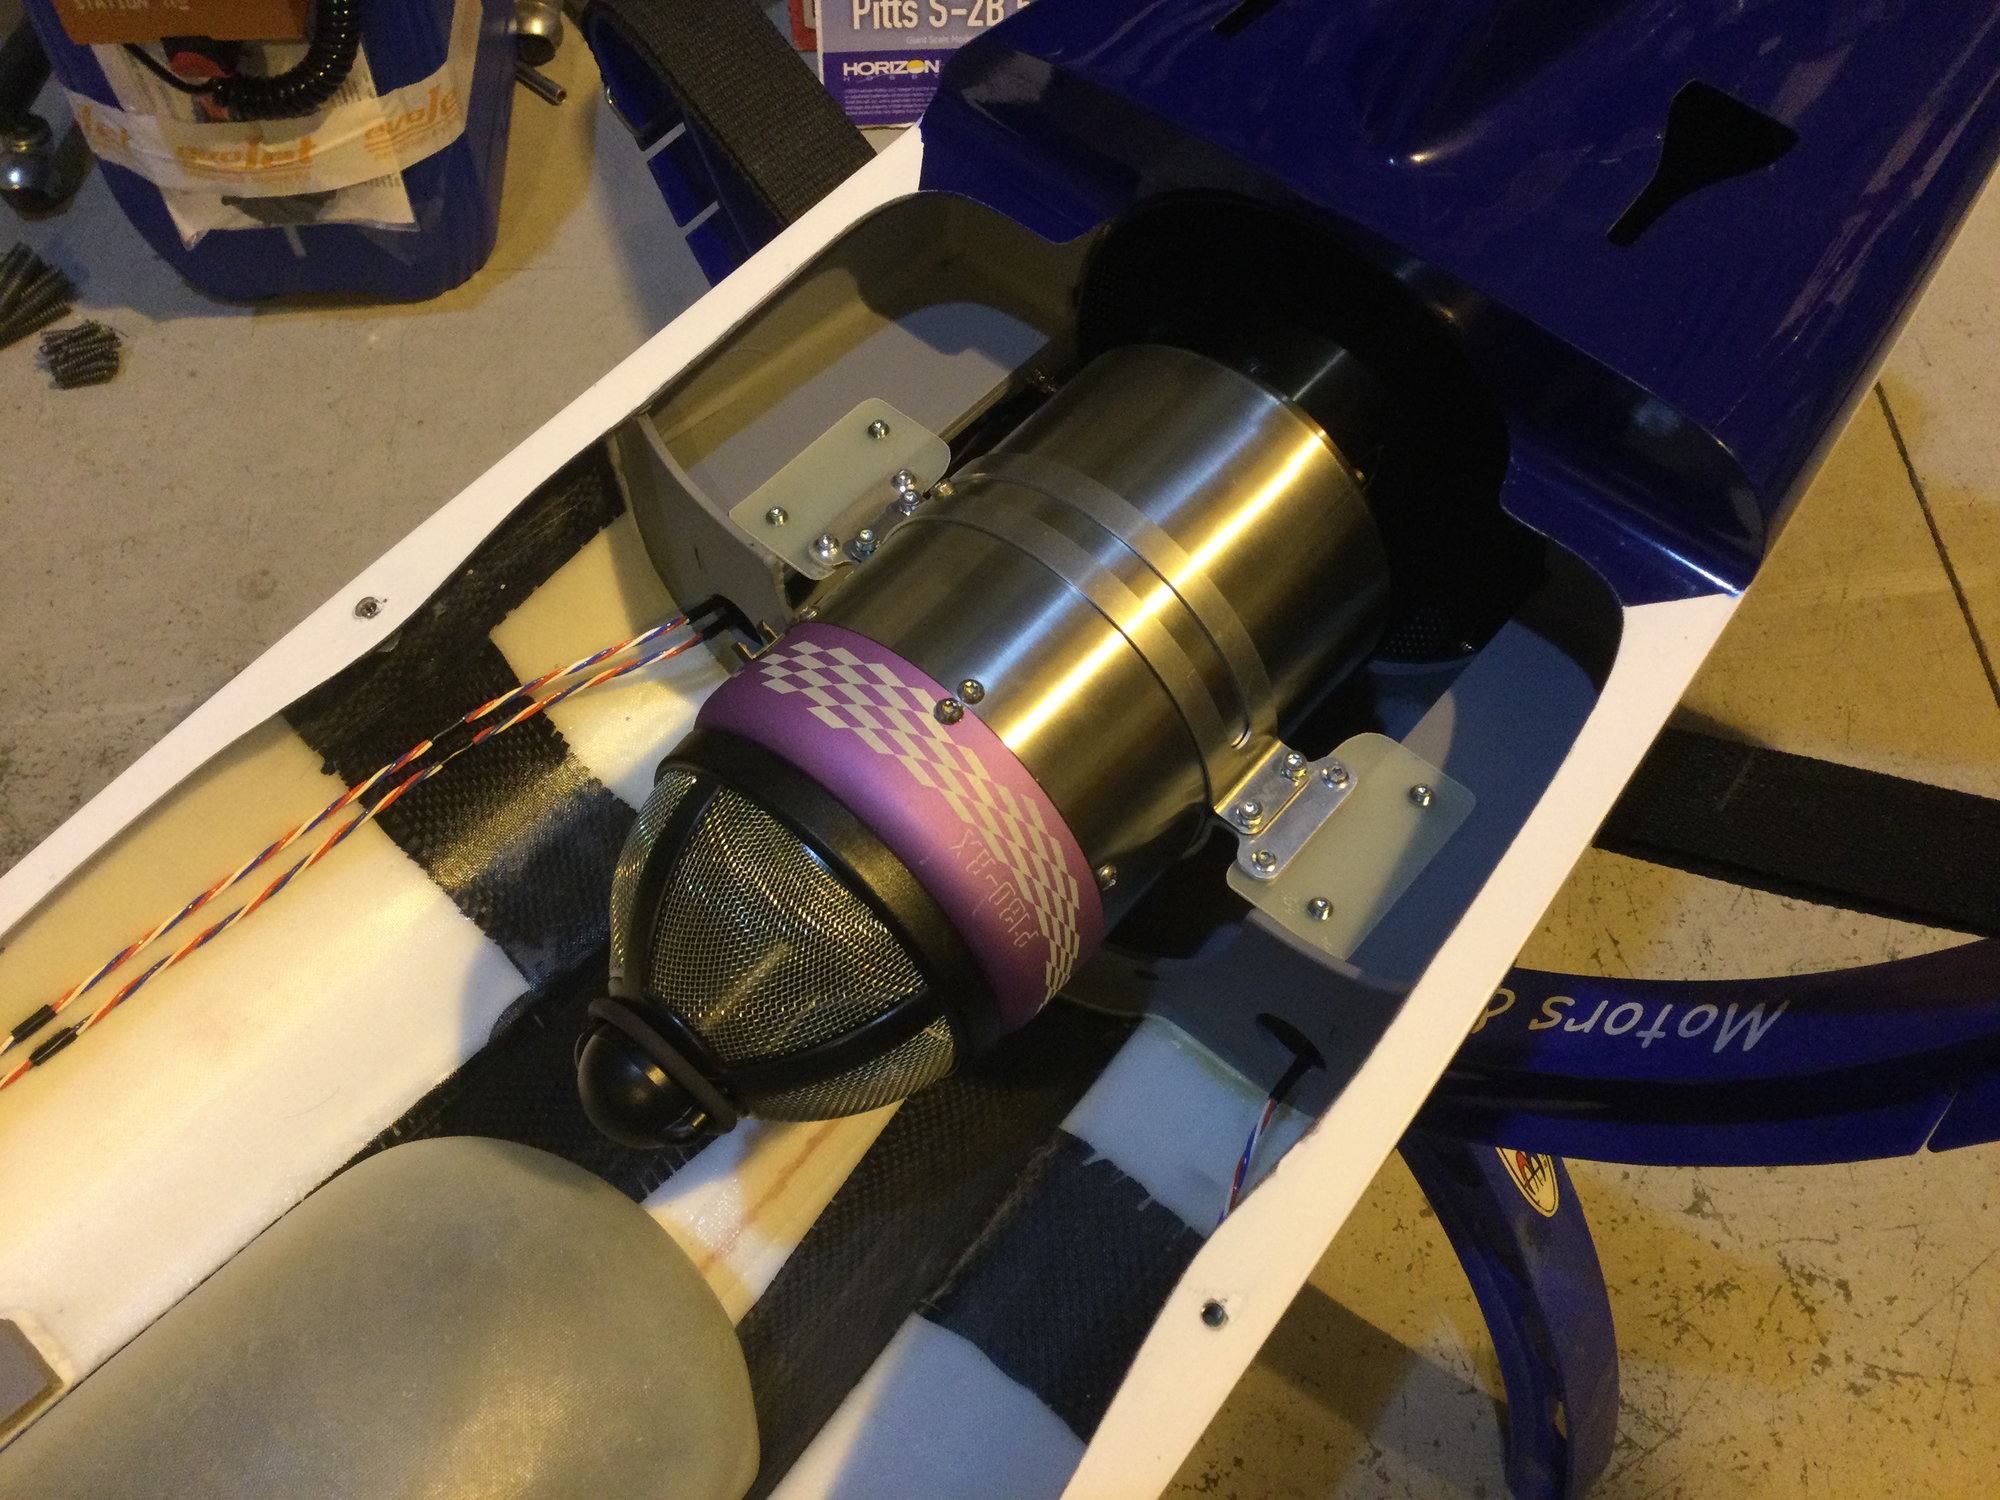
Turbine in. Using a 1mm board the turbine is centred. The P-130Rx has over 150N and a low idle thrust all in a 1320g case size, it�s just the perfect turbine for an Ultra Flash.
02-03-2021, 12:16 PM
#121
Thread Starter
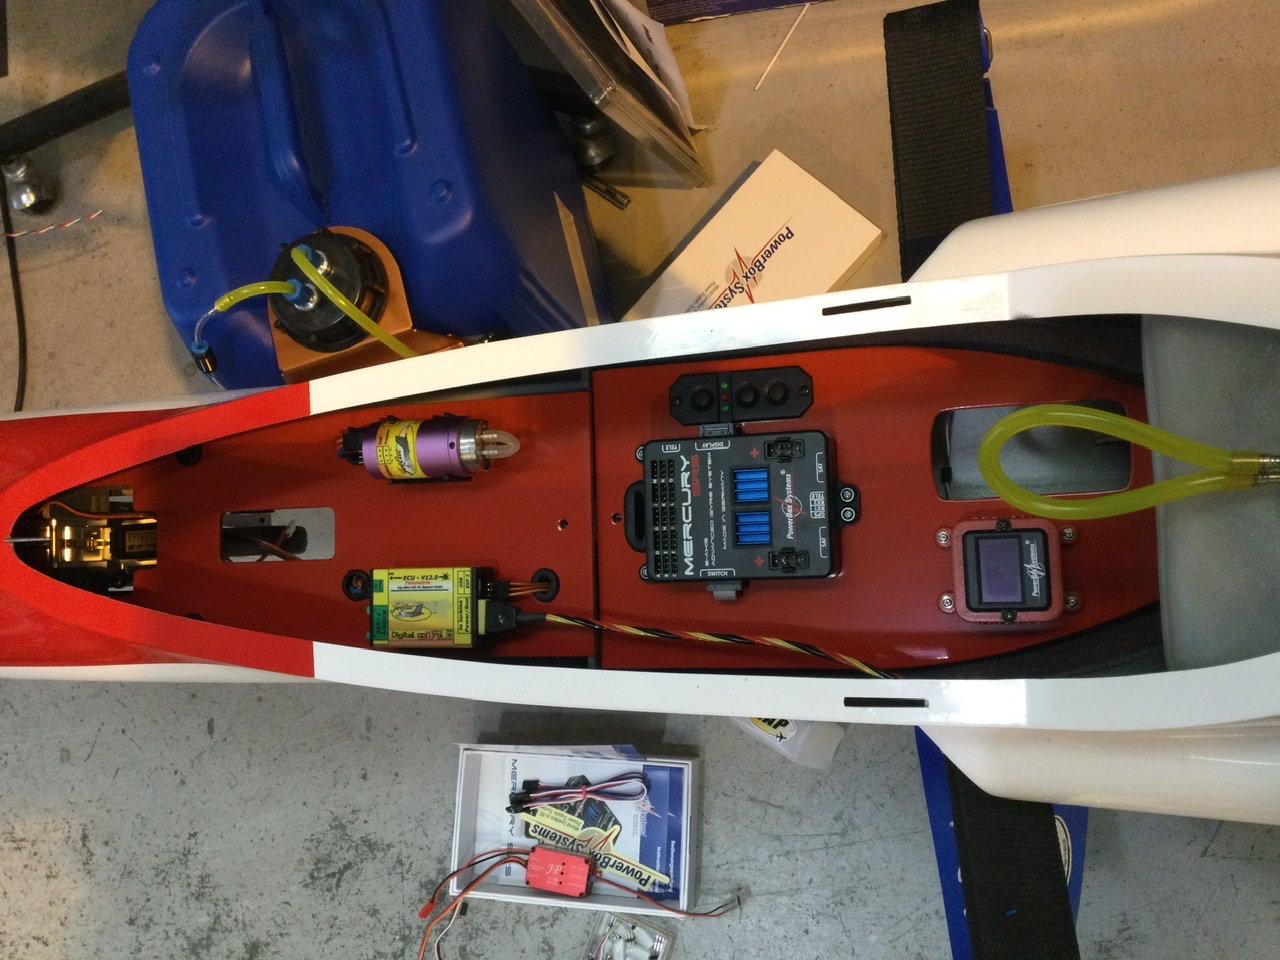
Been distracted by other things...and no chance to fly for at least another month+ So not done much. But I have been looking at the install. As a Powerbox Core guy I could not decide between using a Pioneer, Sensor SW V3 ( for the JR servos) with option for an ISat-I�m a firm believer the UF does not need a Gyro, but like all airframes it adds something, or just fit a Mercury since it covers everything in one box, so less wire linking needed.
I�ve lent more towards the Mercury, so started working out the layout based on that. Since my go to bubble trap is the bottle type from MAP I have two old tanks that I cut at the two angles I might use. One is angled more than the other. I can play with the layout, look at the pipe runs etc before I cut any holes!
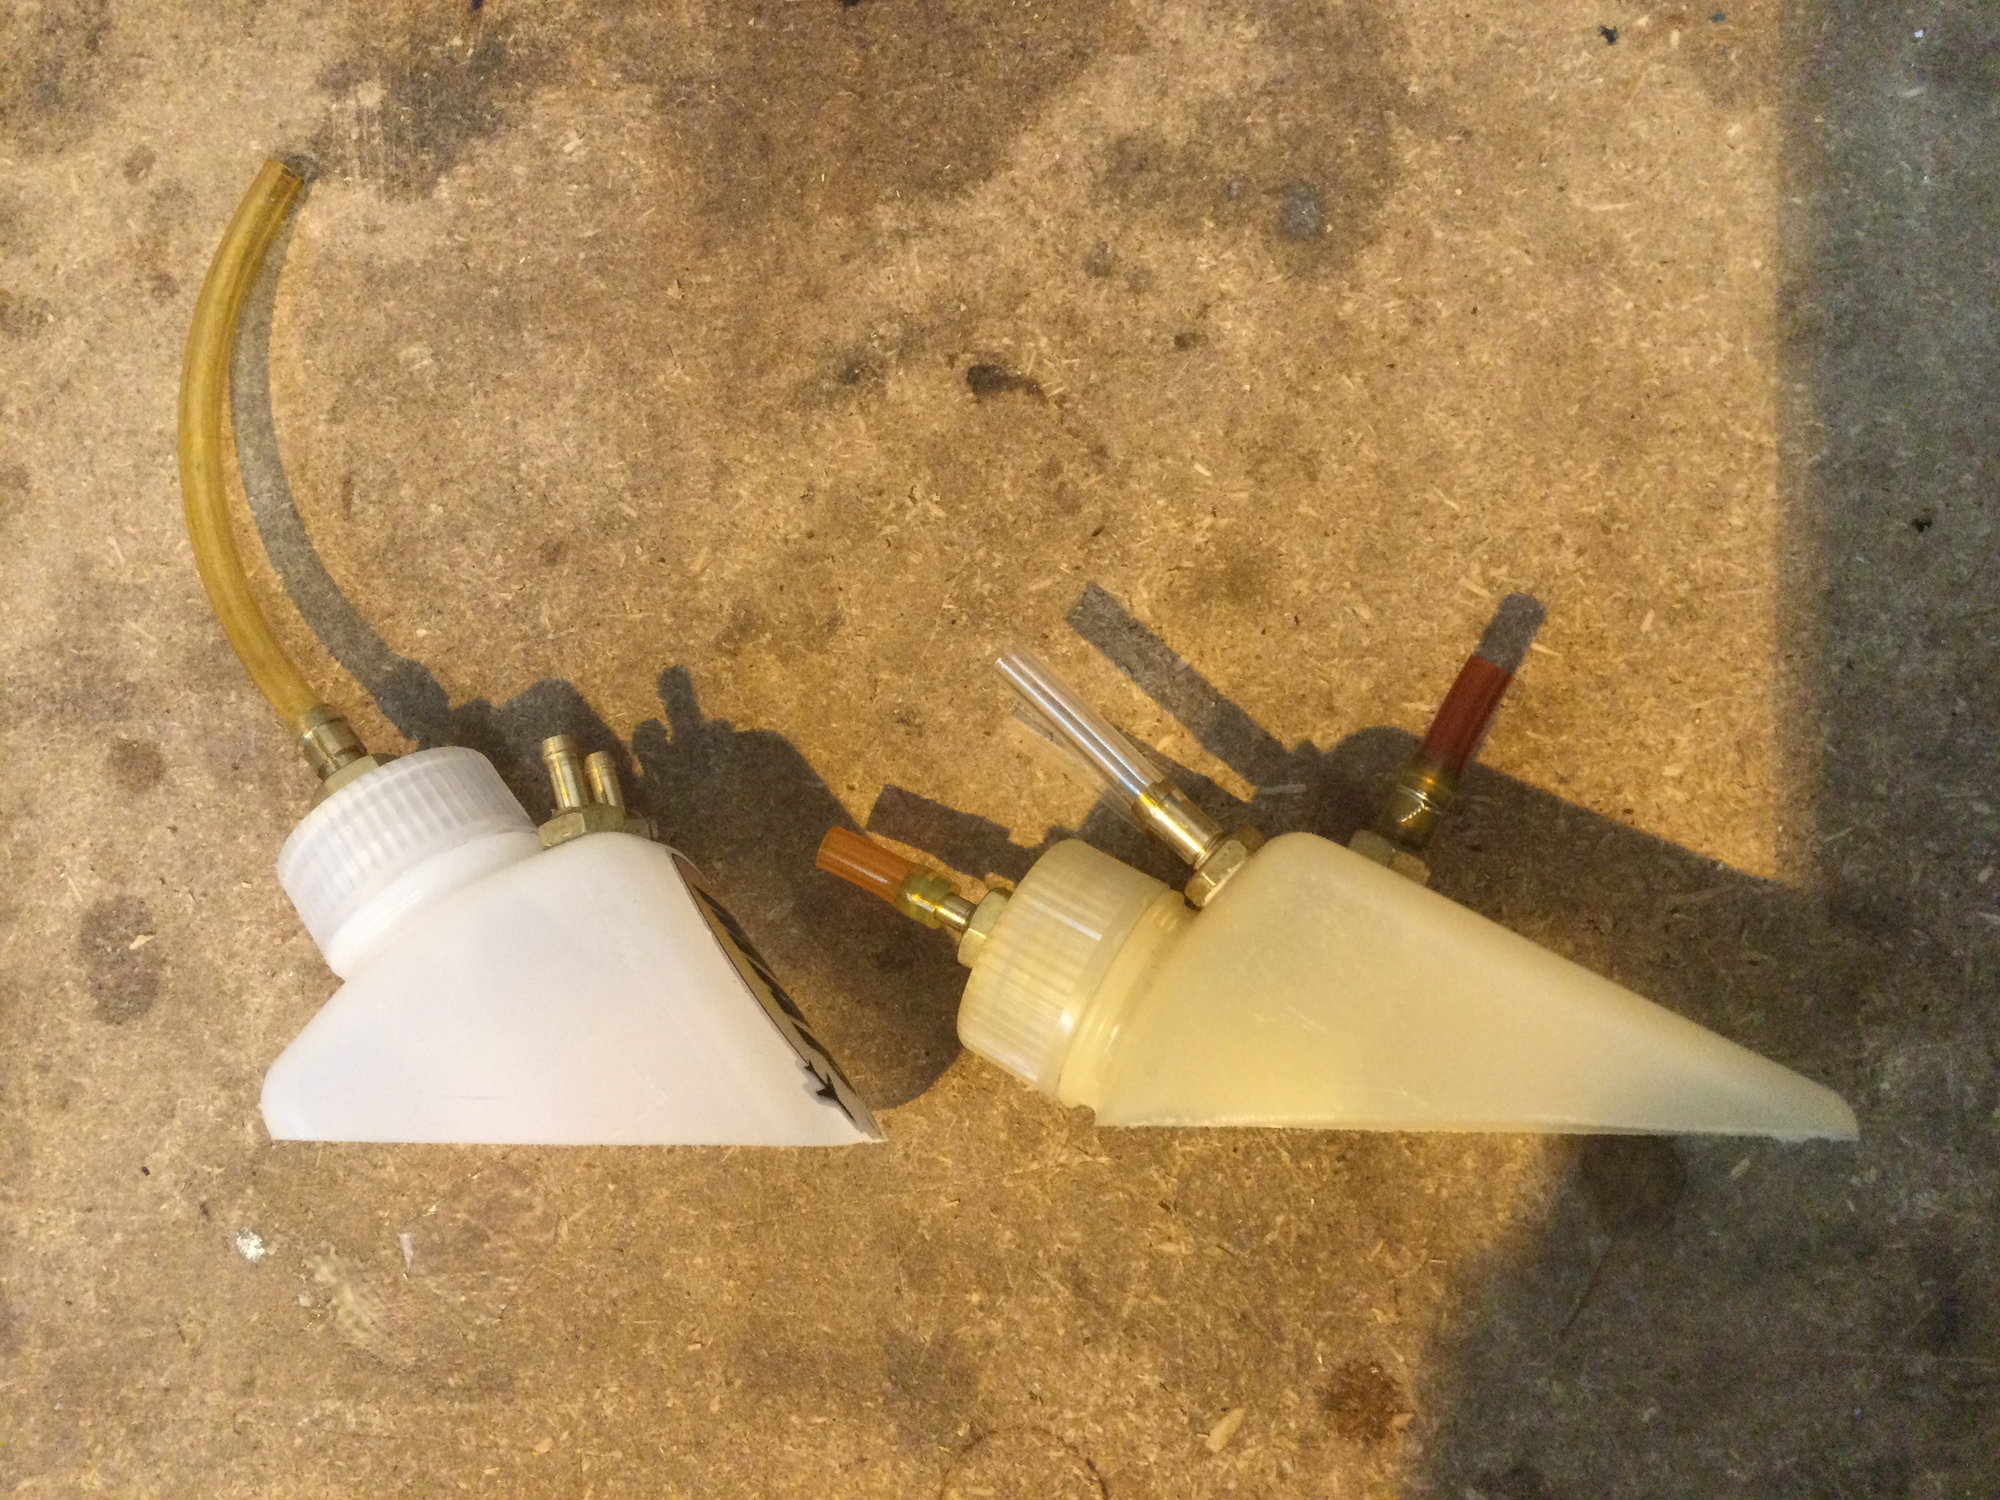

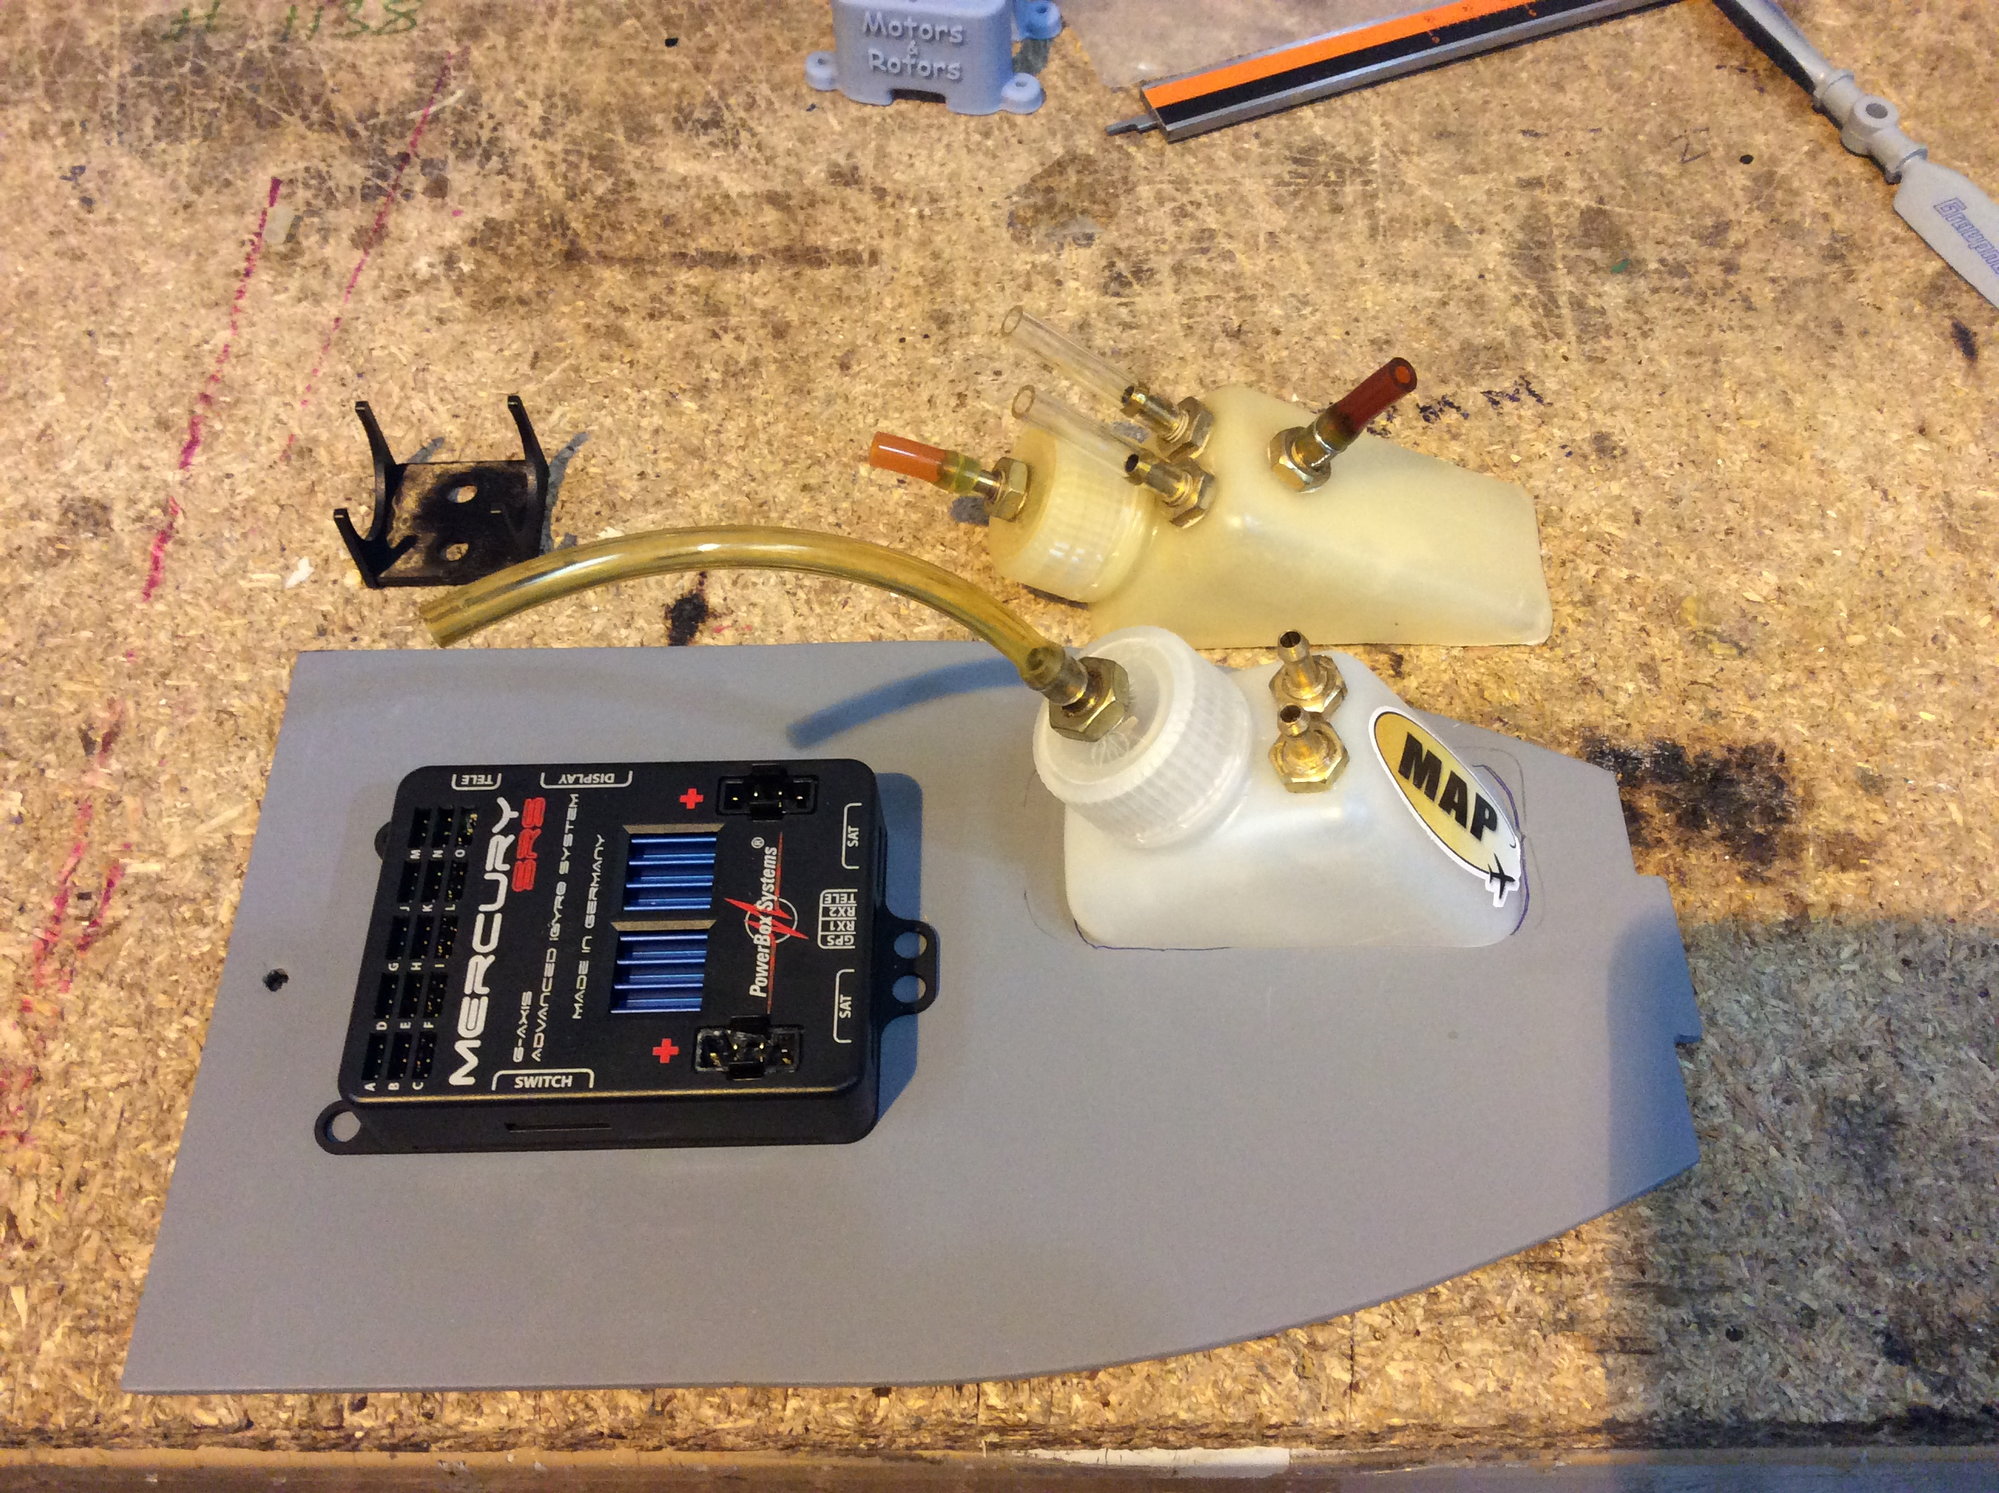
I�ve lent more towards the Mercury, so started working out the layout based on that. Since my go to bubble trap is the bottle type from MAP I have two old tanks that I cut at the two angles I might use. One is angled more than the other. I can play with the layout, look at the pipe runs etc before I cut any holes!
The following users liked this post:
Canadian Man (02-03-2021)
02-03-2021, 02:49 PM
#122
Looks great. I used the Booma SmoothFlite from my previous airplane in the UF. I didn't have the gyros activated initially, but after a couple months of flying it I figured I might as well turn them on and see how they work. I agree with your opinion regarding gyros in the UF - it's absolutely not necessary. But I'll tell you this... I like it. On a windy day it removes the wing rock and tail wag during approach. I have the aileron and rudder stabilization turned on with flaps down. I didn't overly care for the elevator feel with gyros on, so I kept them permanently off. At speed they're not necessary, and I'm afraid of finding the oscillation point at 400 km/h.
02-03-2021, 03:10 PM
#123
Thread Starter
Even on the models I have a gyro I fly with a really low figure, so even at speed I would not be worried. A bit of shake rattle and roll flying slow is a good thumb workout. I have customers who spend ages *****g the gyro settings to every last percentage they can get...they lose feel for the aeroplane, struggle when there is not gyro because they become ‘lazy’ on the sticks. It’s a bit like guys that fly nothing but sports jets...you need a bit of aerobatic fixed wing or a session of heli flying to get the brain/thumbs muscle reflex working so you don’t have to think. All my friends that fly helicopters are amongst the most capable flyers.
02-03-2021, 03:26 PM
#124
I hear you there - I am below 15% gain on mine... just enough to "take the edge off". I fought flybarless systems for a long time, and was one of the last to make the switch. I could never get a perfect flying model with the earlier units and was always particularly picky with the latest ones. I spent so much time tuning the helicopter to perfection that my actual flying skill suffered. If you can get an airplane or heli working 80% at everything, you're better off to spend the remaining 20% of your energy on learning to fly through the imperfections. It becomes more enjoyable once you just accept these models are never going to be absolutely perfect. The challenge is learning to make them look that way.